
Making P.Js is a great beginners sewing project. Especially if you're sewing for children. Kids can be easily pleased with a cool fabric and will never notice your wonky hems and bunched up seams.
Here is how I made my son's pjs.
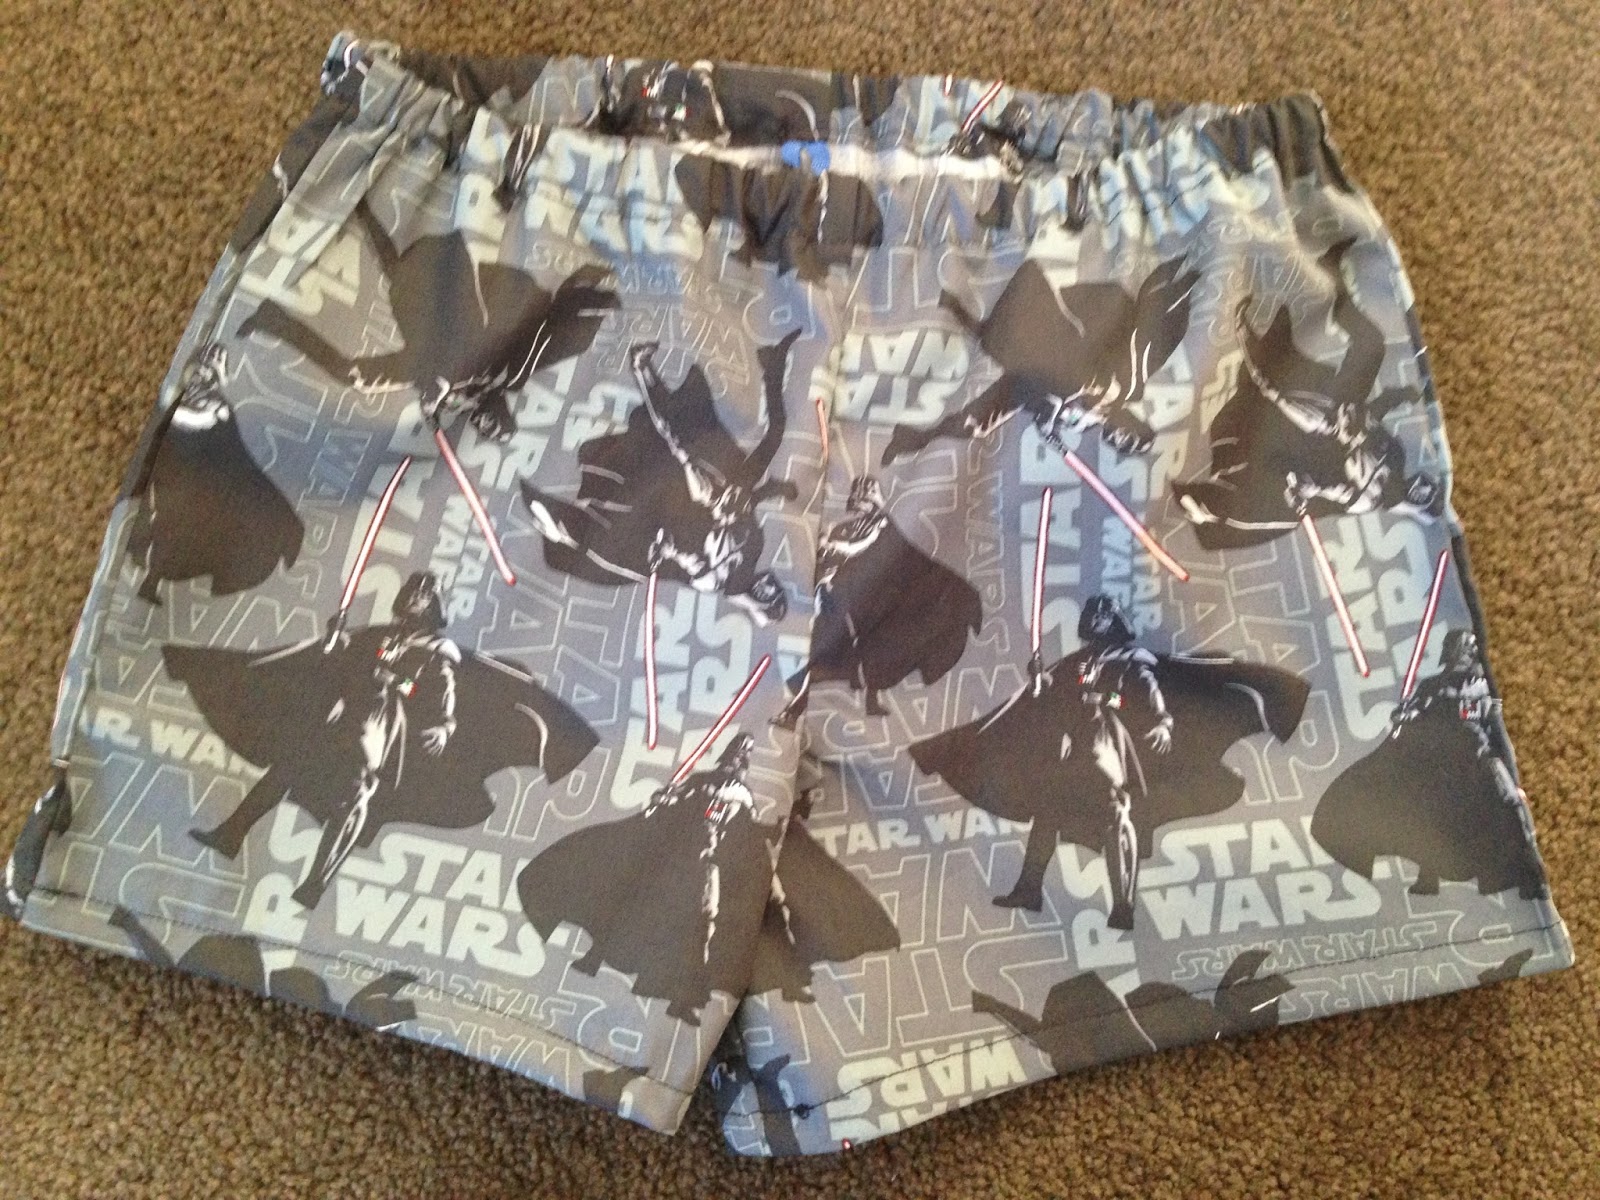
1.

Using a pair of his shorts for my pattern I cut the pieces above. The back pieces need to be slightly larger to allow for the bottom.
2.

Place the two front pieces right sides together and the two back pieces right together. On both, sew a seam on the curved line, stopping at the leg piece.
3.

Place both pieces right sides together and sew side seams. (On a side note, does anyone know how to rotate photos on blogger.)
4.

Sew together the legs. Start at the bottom and pivot when you reach the centre seam, and then sew down other leg.
5.

Create a casement for your elastic around the waist. Remember to check that it is wide enough for the elastic to fit through. Also remember to leave a gap to thread the elastic through. I made three pairs of pajamas for my son today, and had to unpick two of them because I forgot this gap.
6.

Thread your elastic and sew the waistband closed.
7.
Hem the legs.
8.

For the T-Shirts I brought some cheap tops from The Warehouse and appliqued on a character from each piece of fabric.

Done!
No comments:
Post a Comment