Saturday, 11 July 2015

Make Your Own Children's Pajamas


Making P.Js is a great beginners sewing project.  Especially if you're sewing for children.  Kids can be easily pleased with a cool fabric and will never notice your wonky hems and bunched up seams.

Here is how I made my son's pjs.

1.

Using a pair of his shorts for my pattern I cut the pieces above.  The back pieces need to be slightly larger to allow for the bottom.

2.
Place the two front pieces right sides together and the two back pieces right together.  On both, sew a  seam on the curved line, stopping at the leg piece.

3.
Place both pieces right sides together and sew side seams.  (On a side note, does anyone know how to rotate photos on blogger.)

4.
Sew together the legs.  Start at the bottom and pivot when you reach the centre seam, and then sew down other leg.

5.
Create a casement for your elastic around the waist.  Remember to check that it is wide enough for the elastic to fit through.  Also remember to leave a gap to thread the elastic through.  I made three pairs of pajamas for my son today, and had to unpick two of them because I forgot this gap.

6.
Thread your elastic and sew the waistband closed.

7.
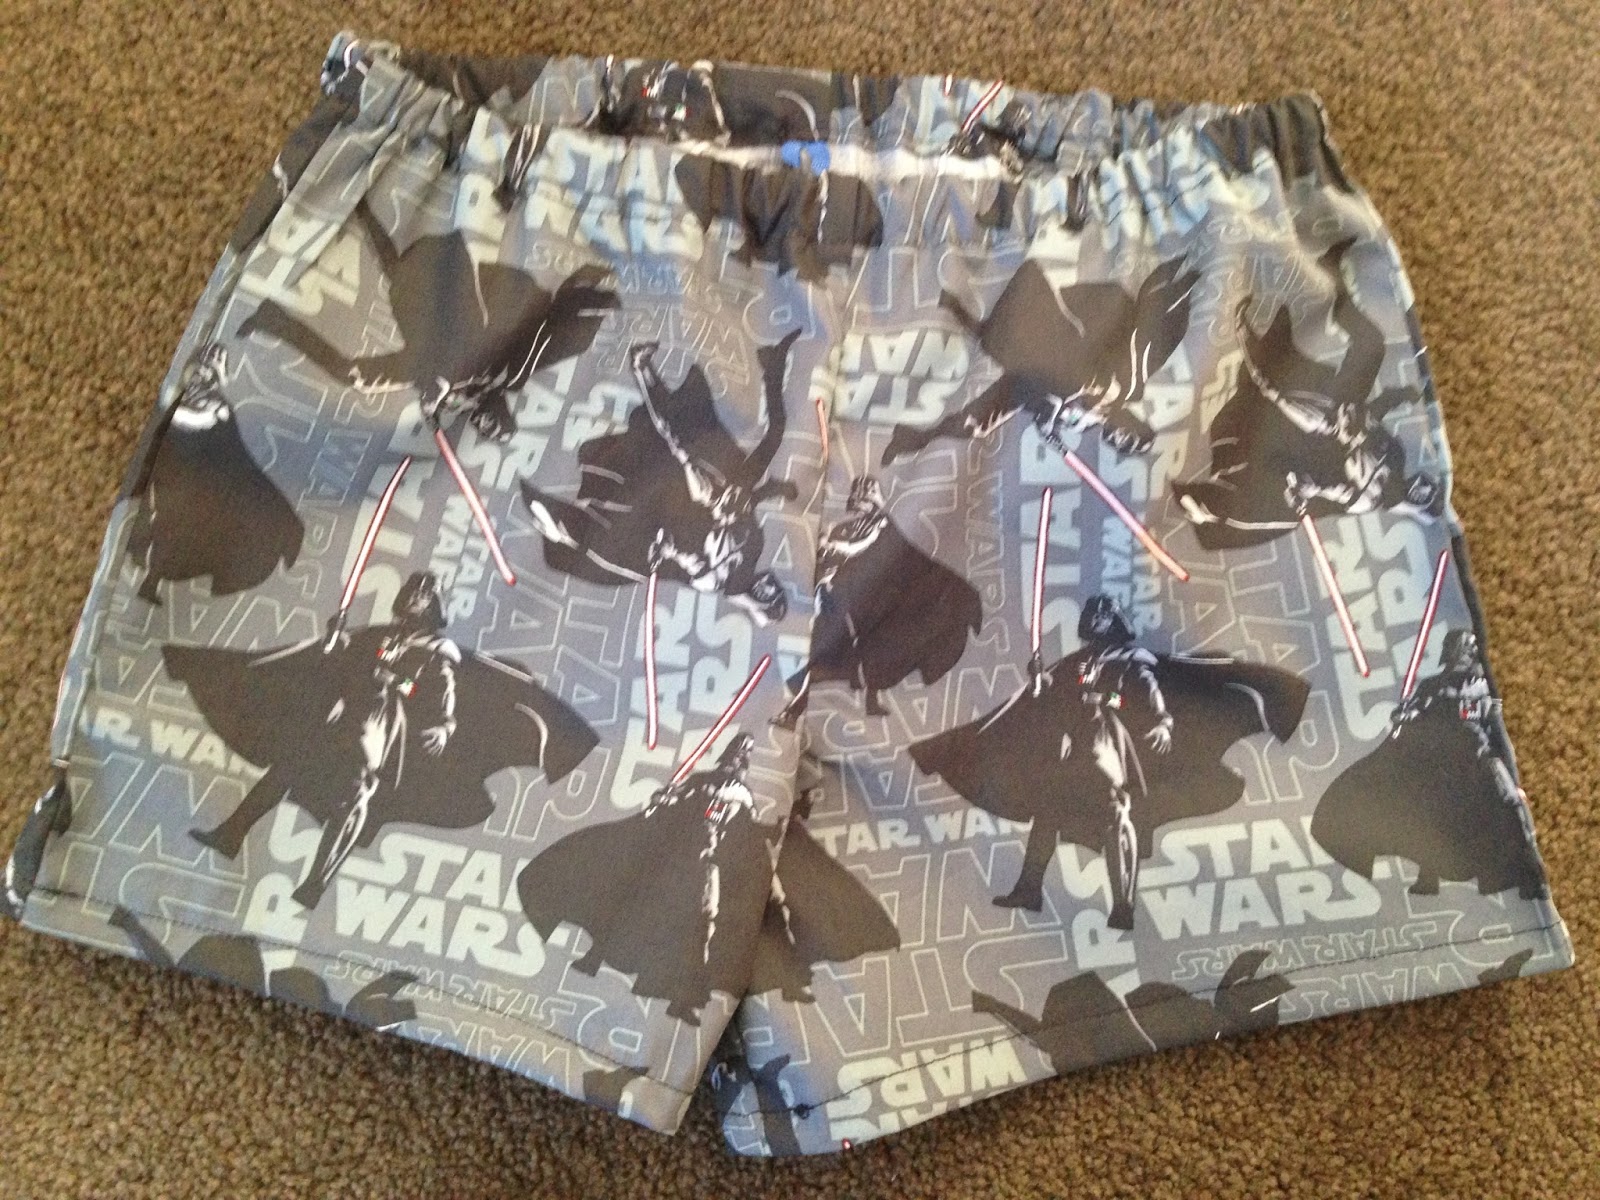
Hem the legs.

8.


For the T-Shirts I brought some cheap tops from The Warehouse and appliqued on a character from each piece of fabric.


Done!

Friday, 3 July 2015

Wheat bags


I have been sewing for about four years now and today marks the first time my husband has ever asked me to sew him anything.   He has a bad back and his old wheat bag has seen better days. Using his old one as my pattern I was quickly able to make him a new one. I was surprised how quick and cheap they  were to make, so while I was at it I decided to make one for Tamati and I as well. 


All you need is a small amount of fabric and your wheat. I like to use contrasting fabric for the front and back, and the fleece makes it especially snuggly. 


Cut two rectangles the same size and with right sides together sew around three edges, leaving one of the short edges open. 

Turn in right way and press with iron. 


Divide the length into thirds and sew along these lines to make three long pockets. Fill these pockets with wheat and then sew your final edge closed 

And that's it. Simple!


Friday, 26 June 2015

Draught Stopper


We're back in NZ for our holidays and much to Tamati's delight it has snowed, snowed and snowed.  The temperature has certainly been a big change to what we are used to in Tanzania.  We are staying with my MIL, and she mentioned that she was after a draught stopper.  A quick search on Pinterest found me this site, and one hour later we had a completed draught stopper.

It was a simple sew, two long rectangles sewed together and filled with rice.  It did take 5 kilos of rice and I'm worried that it may be to heavy and rip the stitches, but we'll see how it goes.

I love the fabric and was hoping there would be enough left over to make a dress for Arahia, but no such luck.  Will need another trip to the fabric shop, oh well!


 Two pieces of fabric, 9" by 36".

 Right sides together, sew around the two long edges and one short edge.  After sewn, pack with rice and sew final end.


Arahia giving it her seal of approval.

Enjoying the snow.

Thursday, 25 June 2015

Darth Vadar Costume


 Tamati's latest obsession is Star Wars. I have been promising him a Darth Vadar costume for ages, so as soon as I finished his sisters quiet book he informed me that the costume was to be my next project. Like most four year olds Tamati is not the most patient so in order to speed up the process I bought a cheap black t shirt and pants to build the costume around.


I copied the mask from here using black felt and white embroidery cotten. I backed the back of the mask with another piece of felt so all the loose threads didn't get in the way. 


I used felt to sew on the details for the T-shirt, using this pin as my inspiration
.  
The cape was a simple sew. Just a rectangle of black fabric. I sewed Velcro at the top to make it easy for Tamati to get it on and off. Overall I was pretty pleased with how it turned out, as was Tamati. 

Saturday, 20 June 2015

Quiet Book 8 - The Finished Product


Finally, after 2 months, Arahia's Quiet Book is finished.  There are parts that I'm really proud of and other parts that I wish I could have done better.  I'm quite disappointed with how the cover turned out,  I wish it could have been stiffer.  Overall though, this is a project I really enjoyed and I hope my daughter enjoys playing with it as much as I enjoyed making it.


Please refer to my previous blogs to see where my ideas where copied, adapted and stolen from.


Tuesday, 16 June 2015

Quiet Book 7 - The Princess and the Dog

Here are the photos of my last two pages.  Again, under the photo is the link to my original inspiration.  I am now working on the cover and am hoping to have the book completed by the end of the week, stay tuned!


The dog also has a lead and clip, but it didn't make it into the photo.

Saturday, 13 June 2015

Quiet Book 6 - The Owl and the Ballet Slipper

And here are the next two pages.  Both of these pages I pretty much directly copied from pages I found on Pinterest.  I have attached the links to these under each photo.  My Quiet Book is getting close to finished, only two pages to go.